Midwestern’s Guide to a Spring Cleanup

Midwestern’s Guide to a Spring Cleanup

The snow is melting and the temperatures are rising. That means it’s almost time for a spring cleanup in your yard. A little work now can save you a lot of time and effort later in the season. Here’s a Midwestern’s guide to a spring cleanup.

Rake the Leaves

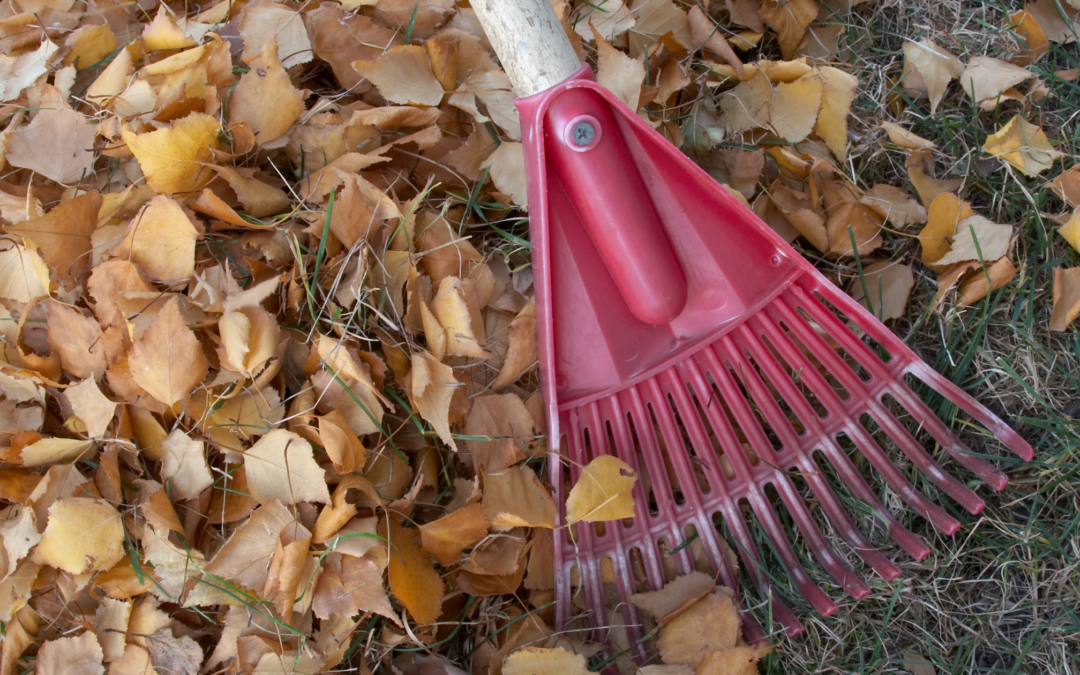
The first step to cleaning up your yard is to rake the leaves. Over the winter, leaves and other debris have likely accumulated on your lawn and in your garden beds. Raking them up will give your lawn a chance to breathe and allow sunlight to reach the soil. It will also make it easier to see what needs to be done in terms of weeding and planting.

Clear Out Dead Plants

Once you’ve raked the leaves, take a close look at your garden beds. Remove any dead plants or flowers that didn’t survive the winter. This will make room for new growth and help prevent disease and pests from spreading.

Prune Trees and Shrubs

Now is the time to prune any trees or shrubs in your yard. This will help them grow healthier and stronger throughout the season. Prune any damaged or dead branches, as well as any branches that are crossing or rubbing against each other. This will prevent the branches from becoming entangled and allow more sunlight to reach the tree or shrub.

Weed Garden Beds

Weeding is a necessary chore in any garden, but it’s especially important in the spring. Weeds can quickly take over your garden beds and steal nutrients from your plants. Take the time to pull out any weeds by hand or use a hoe to remove them. Be sure to get the entire root to prevent them from growing back.

Add Mulch

Once you’ve weeded your garden beds, it’s a good idea to add a layer of mulch. Mulch helps retain moisture in the soil, suppresses weed growth, and adds nutrients to the soil as it breaks down. Choose a natural mulch, such as wood chips or shredded leaves, and spread it evenly around your garden beds. If your garden beds have old mulch in them, you may need to remove the old mulch and add more to freshen up.

Clean Up Hardscapes

Hardscapes, such as patios, sidewalks, and driveways, can also accumulate debris over the winter. Use a broom or leaf blower to remove any leaves, sticks, or other debris. If you have a pressure washer, you can also use it to clean off any dirt or grime.

Check Your Lawn for Thinning Areas

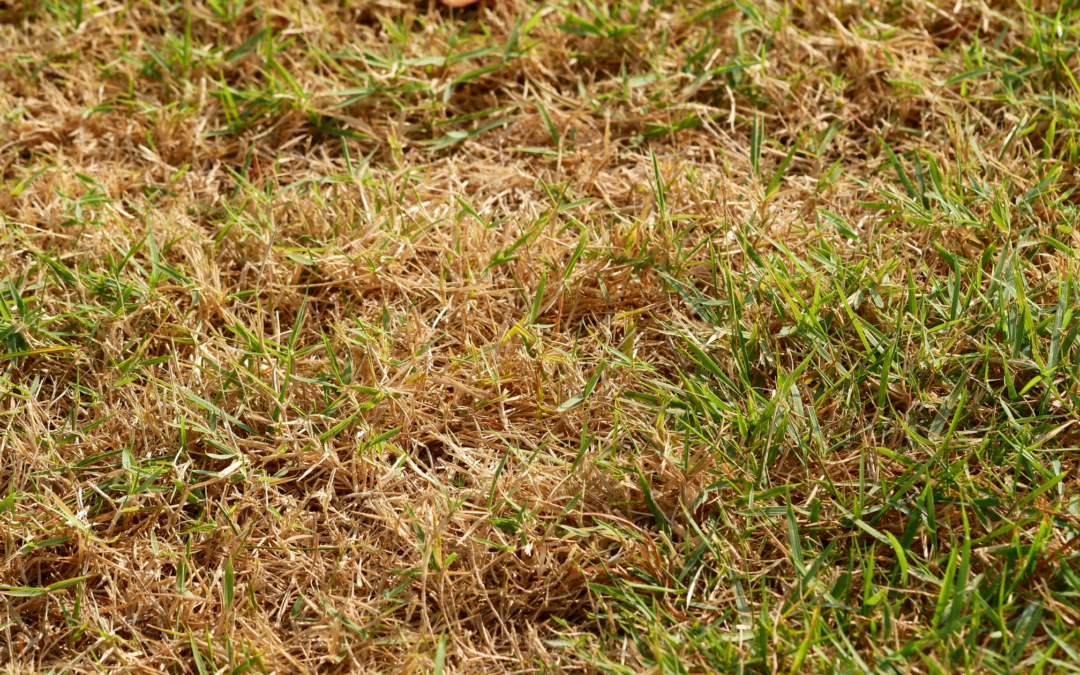
Take a close look at your lawn to see if there are any areas that need attention. Are there bare spots or areas of thin grass? If so, consider overseeding or reseeding your lawn. This will help fill in any bare spots and promote healthy growth.

A spring cleanup in your yard is an important task to start the season off on the right foot. By following these tips, you’ll have a beautiful and healthy yard all season long. Don’t have the time to kick start your yard this spring? Let us take care of the work for you! Call or email us today for more information. Spring cleanup spots fill up quickly so act fast!

Seeding Your Lawn in Wisconsin

Seeding Your Lawn in Wisconsin

When it comes to maintaining a beautiful lawn, proper seeding is an essential part of the process. Seeding helps fill in bare spots, promotes thicker growth, and improves the overall health of the grass. If you live in Wisconsin, knowing when to seed your lawn is especially important, as the state experiences harsh winters and hot summers. In this blog, we’ll discuss the best time to seed your lawn in Wisconsin and what you need to know to get the best results.

Best Time of Year for Seeding Your Lawn in Wisconsin

The best time to seed your lawn in Wisconsin is in the fall, from mid-September to mid-October. During this time, the soil temperature is still warm from the summer months, which allows the seed to germinate quickly. Additionally, the cooler fall temperatures are ideal for grass growth, and the moisture in the soil helps keep the seed moist, promoting rapid germination. The fall is also the best time to seed because the grass has plenty of time to establish itself before winter sets in.

Choosing the Right Grass Seed

When seeding your lawn in Wisconsin, it’s important to choose the right type of grass seed. The two most common types of grass in the state are cool-season grasses, such as Kentucky bluegrass and fescue, and warm-season grasses, such as Bermuda and zoysia. Cool-season grasses are best for lawns in Wisconsin because they can handle the state’s harsh winters and thrive in the cooler fall and spring temperatures. Warm-season grasses, on the other hand, are not well-suited for the state’s climate and may struggle to survive the winter months.

Proper Seeding Prep

Once you’ve chosen the right type of grass seed, it’s time to prepare the soil. Start by removing any dead grass and debris from the area you want to seed. Then, loosen the soil by raking it, and spread a thin layer of topsoil over the area. Next, spread the grass seed evenly over the soil, making sure to cover it completely. To ensure good seed-to-soil contact, you can lightly rake the seed into the topsoil or gently press it down with a lawn roller.

After Seeding Care

After you’ve seeded your lawn, it’s important to keep the soil moist to promote germination. This means watering the seed twice a day, once in the morning and once in the evening, for 10-15 minutes each time. It’s also important to keep foot traffic off the seeded area until the grass has had a chance to establish itself, which usually takes about 4-6 weeks.

Finally, fertilizing your lawn after seeding is an important step in promoting healthy growth. A slow-release fertilizer can help provide the grass with the nutrients it needs to grow strong and healthy. You can also choose to add a starter fertilizer, which is designed specifically for new seedlings.

By following these tips and taking care of your newly seeded lawn, you can enjoy a lush, green lawn for years to come!

Looking for help taking care of your lawn once spring hits? Friske Lawn Care offers services from spring clean ups to mowing. Contact us for a free quote today!

How to Get Rid of Dandelions

How to Get Rid of Dandelions

Dandelions are a common weed that can be found in many lawns and gardens. While they are often considered a nuisance, there are few simple techniques to help you get rid of dandelions.

Remove the Dandelions Manually

This can be done by using a weeding tool or a long-handled cultivator to dig up the roots of the dandelions. It is important to make sure to remove as much of the root as possible. Dandelions don’t need much root to start growing again!

Use a Chemical Herbicide

These can be applied to the leaves of the dandelions, and will be absorbed by the plant and travel down to the roots, killing the entire plant. However, it is important to use a herbicide that is specifically labeled for use on dandelions, as some herbicides may harm other plants in your lawn or garden.

Use a Natural Herbicide

Examples of natural herbicide would be vinegar or boiling water. These can be applied directly to the leaves of the dandelions, and will cause the plant to dry out and die. However, it is important to note that vinegar and boiling water can also harm other plants in your lawn or garden, so be careful when using these methods.

Prevent Dandelions From Growing in the First Place

One way to do this is to maintain a healthy lawn by mowing it regularly, fertilizing it, and watering it as needed. A healthy lawn will be better able to compete with weeds, making it less likely for dandelions to take root. Additionally, making sure to remove any dandelions that do appear as soon as possible will prevent them from going to seed and spreading to other parts of your lawn or garden.

At the end of the day, it is important to choose the method that works best for you and your specific situation, and to be careful when using any chemicals or natural herbicides to avoid harming other plants.

Need help keeping dandelions and other weeds out of your landscape beds? Friske Lawn Care can help with that! Reach out for a quote today for our weeding services!

How to Fix Dog Urine Spots On Your Lawn

How to Fix Dog Urine Spots On Your Lawn

Having a dog is all fun and games, until your yard starts to look terrible from all of the urine spots Fido leaves behind. Fortunately, there is hope for your dog and your lawn to coexist. Read on to learn how to fix dog urine spots on your lawn.

Why does dog urine leave spots in the lawn?

Dog urine lawn spots happen because of the high amount of nitrogen and related salts naturally contained in dog urine. Lawn damage happens when concentrated urine collects in the same area repeatedly, like fertilizer burn.

Some areas of your lawn may recover on their own, however, areas that your dog frequents for urination will typically need dog urine repair.

How to Fix Dog Urine Spots On Your Lawn

With the right products, and a little patience, dog urine grass repair can be a pretty easy fix. The remedy for brown spots is different than the remedy for green spots, so knowing which ones you are dealing with is important.

Fixing Green Lawn Spots:

Nitrogen is an essential plant nutrient, so some of your dogs favorite spots to relieve himself can become greener from the urine’s nitrogen. This tends to happen more with grass hasn’t been fertilized with enough nitrogen. If this is the case, your lawn could have low nitrogen. You can find out the exact levels by taking a sample of your soil to be tested. To correct this, apply Pennington UltraGreen Lawn Fertilizer 34-0-4 every 60 to 90 days through the growing season, or as needed according to your soil lab results. This particular fertilizer helps to increase drought tolerance, which is much like tolerance to urine salts. It will also help boost nutrients for a nice green lawn.

Fixing Brown Lawn Spots:

Brown spots are more severe because they are dead or dying grass. A lawn that is weak or overly dry is more prone to this type of dog urine damage. If you start to see spots like this, water the areas repeatedly to flush out the urine salts. Saturating the areas will help clean the surrounding soil.

You cannot bring dead grass back to life, but you can repair the areas affected by the dog urine spots. Start by removing the dead grass and then treating the area with Pennington One Step Complete. This product is easy-to-use and premixed, for quick and simple lawn repair. You get premium grass seed, professional-grade fertilizer and natural mulch in one product. Be sure to choose the best variation for your grass type and growing climate.

Be sure to keep your pet away from any areas that are being treated. Your dog should be safe around these treatments, but you don’t want to waste all of your hard work. Generally it is best to let grass grow and mow it at least three to four times before you allow dog or people traffic.

Now that you’ve fixed all those spots in the lawn, maybe you want to let someone else take care of your regular lawn maintenance. Friske Lawn Care would be happy to tackle this for you. Reach out today for a free quote!


Signs That Your Tree Is Dying

Signs That Your Tree Is Dying


Do you have a tree on your property that doesn’t look quite right? There is a possibility that your tree is dying. There are signs to check for, making it easier to decide if you need to treat the tree or just remove it. Here are some signs to look to to confirm whether or not your tree is dying.

Check the Trunk

Check the tree trunk for the following:

  • Vertical cracks
  • Missing bark
  • Cankers or areas of dead bark
  • Scratch the trunk to check the inner layer of bark. If it is brown, the tree is likely dead.

Check the Branches

Look for the following signs in the branches:

  • Loss of leaves out of season
  • Brown or brittle leaves during the growing season
  • Dead leaves holding onto branches
  • Weak joints between branches

Damaged Roots

If your tree suddenly develops a noticeable lean, you may have root damage. Anther sign of this is small branches sprouting from the bottom of the tree. If your tree has exposed roots you can check to see if the roots are turning slimy.

Bugs and Fungus

A large fungus growth on a tree can be a good indicator that the tree is rotting inside. Any critters such as bark beetles or carpenter ants are signs that a tree is dying.

Change in Surroundings

A change in the tree’s environment can have a big impact on it. If things around the tree have been moved and the tree is getting more wind or light, that can have a negative effect on the tree. If there was any construction near the tree, the roots may have been damaged.

Prevention

Of course there are ways to prevent a tree from dying:

  • Avoid hitting the tree when doing yard work
  • Be gentle around exposed roots
  • Give the tree lots of room to breathe and absorb light. If you’re planting a new tree, put it in an area where it can grow fully.
  • If you are in a drought, water your trees
  • Be sure to prune trees as needed and at the right time of year

Need help taking care of the trees on your property? Friske Lawn Care offers a wide variety of tree care programs in addition to pruning services. Reach out today for a free quote!